Skip to content
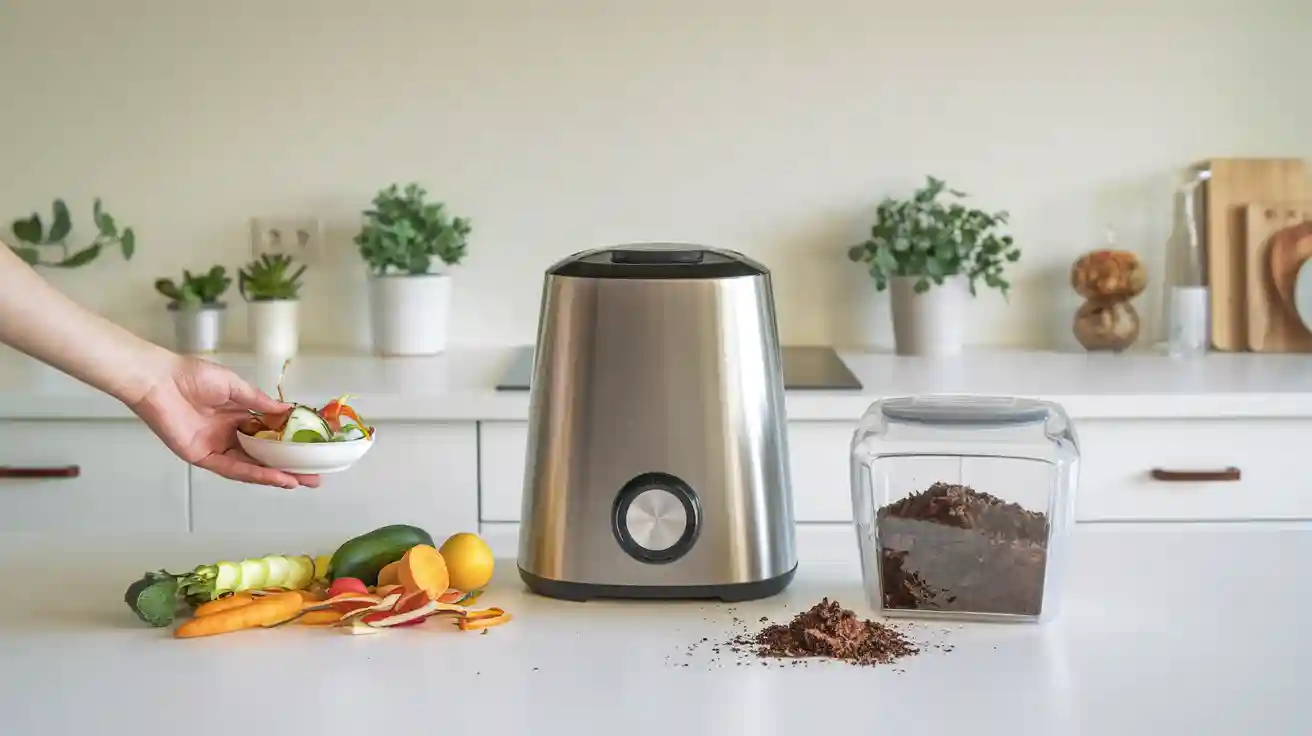
You can turn kitchen scraps into nutrient-rich fertilizer with an electric composter in just days. Most electric composters finish the job much faster than traditional methods. For example, the process often takes only 2 to 5 days.
| Stage | Time Required |
|---|---|
| Drying and Weight Reduction | 2-4 hours |
| Fermentation into Fertilizer | 48-72 hours |
Just add kitchen waste, start the composter, and collect your results.
How Electric Composters Turn Kitchen Waste into Fertilizer
Heating and Drying Process
When you use an electric composter, the first step is heating and drying. The composter heats food waste to high temperatures, often reaching up to 176°F (80°C). This heat removes moisture, reduces the volume, and kills most pathogens and weed seeds. The drying process also prepares the waste for further breakdown. Sensors inside the composter monitor temperature and humidity to keep conditions ideal for fast decomposition. By removing water, the composter makes the food waste lighter and easier to process.
Note: The heating process not only dries the waste but also helps beneficial microbes thrive by creating the right environment for them to work quickly.
Grinding and Mixing Action
After drying, the electric composter uses a slow, rotating blade system to grind and mix the food waste. The blades do not chop finely but instead agitate and break down the waste into smaller pieces. This action increases the surface area, allowing microbes and heat to reach more of the material. Mixing ensures that all the waste gets even exposure to heat and air, which speeds up electric composting. The grinding and mixing steps help reduce the size of food waste quickly, making the process much faster than traditional composting.
| Stage | Purpose |
|---|---|
| Grinding | Breaks food waste into smaller pieces |
| Mixing | Ensures even heat and air distribution |
Aeration and Microbial Breakdown
Aeration is a key part of electric composting. The composter adds air to the chamber, giving oxygen to aerobic bacteria. These microbes, such as Bacillus species, use oxygen to break down sugars, fats, and proteins in the food waste. Aeration also helps control temperature and prevents bad smells. As the microbes work, they turn the food waste into a nutrient-rich soil amendment. The combination of heat, grinding, and aeration creates the perfect conditions for fast decomposition, so you get usable fertilizer in just a few days.
Step-by-Step Instructions for Using an Electric Composter
Initial Setup and Placement
Setting up your electric composter correctly helps you get the best results and keeps your home safe. Start by choosing a good location. Place the composter in a warm room, such as a kitchen or utility area, where the temperature stays above 65°F (18°C). This helps the machine work faster and prevents freezing. Make sure the area has enough space for you to open the lid, add waste, and remove finished fertilizer. Good ventilation is important to control odors and keep the system running well. Avoid placing the composter outdoors unless you can keep it warm all year.
Here is a table to help you decide where to place your electric composter:
| Aspect | Recommendation | Why It Matters |
|---|---|---|
| Warm Environment | Place in a heated room, keep above 65°F (18°C) | Faster composting, prevents freezing, improves efficiency |
| Accessibility | Leave space for adding waste and removing fertilizer | Easier maintenance and operation |
| Ventilation & Exhaust | Ensure good airflow and clear exhaust paths | Controls odors, prevents gas buildup |
| Safety in Confined Spaces | Avoid small, closed rooms without airflow | Prevents health risks from gases |
| Electrical Access | Use a grounded outlet, follow local codes | Safe operation, prevents electrical hazards |
| Outdoor Placement | Not recommended unless always warm | Prevents system failure from cold |
| Heating Options | Use heaters or connect to warm air sources if needed | Keeps composting fast and safe |
Once you have chosen the right spot, follow these steps to set up your electric composter:
- Open the hinged lid at the top of the composter.
- Add a layer of regular soil and sawdust pellets to help the composting process.
- Sprinkle a small amount of baking soda to balance the acidity inside the chamber.
- Plug the composter into a grounded electrical outlet.
- Use the control panel to select your preferred settings.
- Make sure the composter sits on a stable, level surface.
Tip: Never operate your electric composter in wet or damp conditions. Always keep children and pets away during operation.
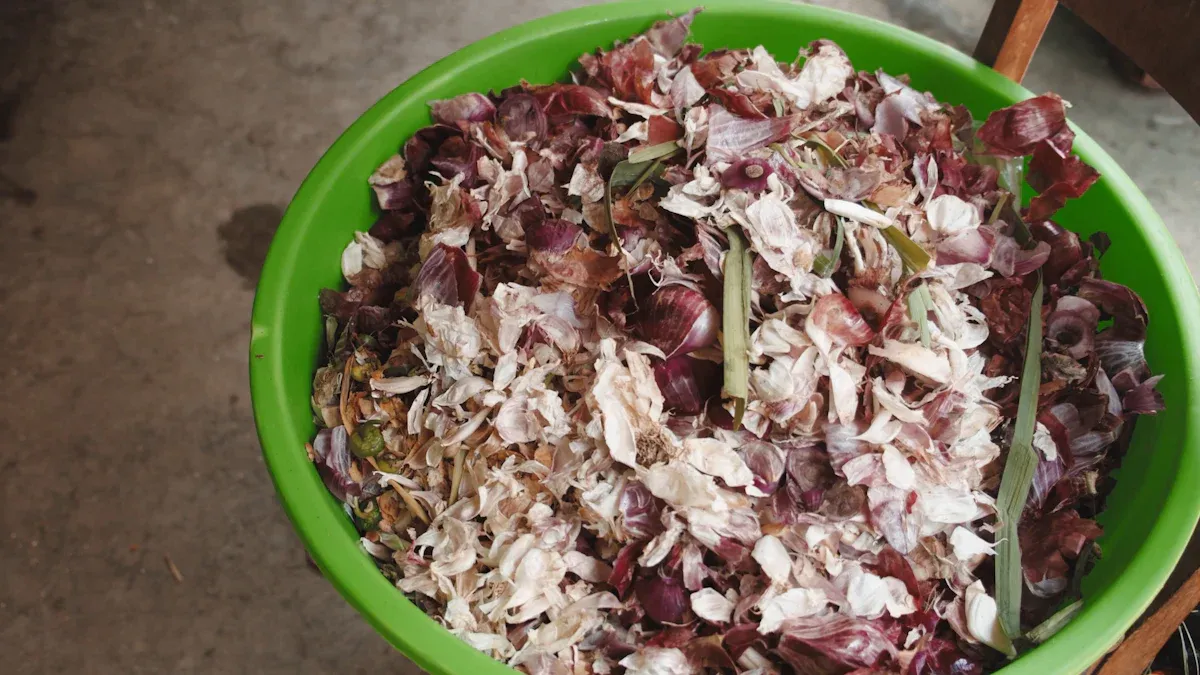
Adding Kitchen Waste Correctly
You can add many types of food waste to your electric composter, but some items work better than others. For best results, add kitchen scraps in small amounts throughout the day. This prevents overfilling and keeps the composting process smooth. Most electric composters have a chamber that holds about 2 liters. Do not fill past the marked line.
Here is a table showing what you should and should not add:
| Recommended Kitchen Waste for Electric Composters | Items to Avoid in Electric Composters |
|---|---|
| Egg shells | Wet or starchy foods (pasta, rice) |
| Coffee grounds and tea bags | Meat scraps and dairy products |
| Vegetable peels (carrot, apple, cucumber) | Oily or greasy items |
| Leftovers gone bad (corn, greens) | Large bones |
| Dried kitchen scraps (old produce) | Rotting food |
Note: Chop large pieces of food waste into smaller chunks to help the composter break them down faster.
You do not need to grind or chop your kitchen waste before adding it. The electric composter will handle that for you. You can add new scraps even while the machine is running. Just avoid overfilling and do not add oily or greasy foods, which can slow down the process and lower the quality of your fertilizer.
Running the Electric Composter
Once you have added your kitchen waste, close the lid and start the machine. Most electric composters offer automatic operation, so you only need to press a button. The composter will heat, grind, and mix the food waste. Some models let you choose different composting modes for faster or slower cycles.
Operating times vary by model. Some countertop units finish in as little as 4 to 8 hours, while larger floor models may take up to 48 hours. Here is a chart showing typical cycle durations for popular electric composters:
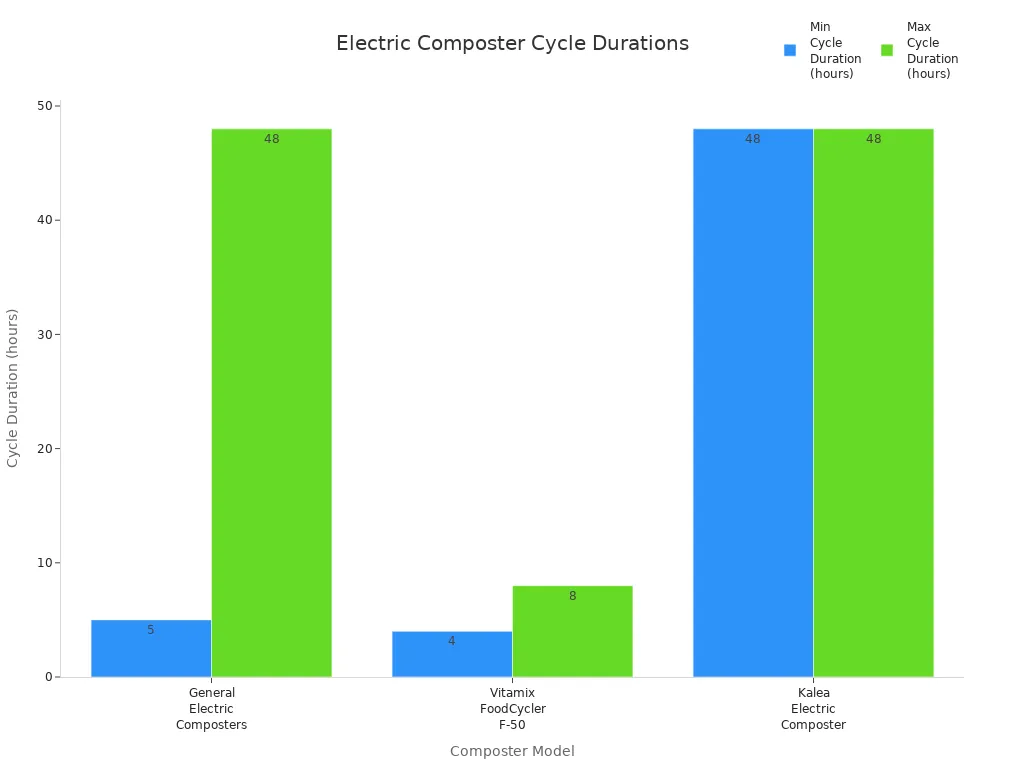
| Model Name | Typical Cycle Duration | Features |
|---|---|---|
| General Electric Composters | 5 to 48 hours | Heating, grinding, cooling; add scraps during operation; multiple composting modes |
| Vitamix FoodCycler F-50 | 4 to 8 hours | Fast cycle; carbon filter for odors; handles most kitchen waste |
| Kalea Electric Composter | About 48 hours | Three compartments; add scraps during operation; nutrient-rich compost |
Safety Reminder: Always follow the manufacturer’s instructions. Do not overload the composter. Keep the area dry and well-ventilated. Disconnect power before cleaning or maintenance.
Collecting and Storing Fertilizer
When the cycle finishes, your electric composter will produce a dry, crumbly fertilizer. To collect it safely and avoid contamination, follow these steps:
- Discard the first small amount of fertilizer to rinse the outlet.
- Use clean, dry containers made of glass or metal to collect the finished product.
- Avoid using plastic containers to prevent microplastic contamination.
- Store the fertilizer in a cool, dry place away from direct sunlight and heat.
- Keep the fertilizer in its original packaging if possible. If the packaging is damaged, transfer it to an airtight, labeled container.
- Separate fertilizer from chemicals like pesticides or fuels.
- Check stored fertilizer regularly for clumping or signs of moisture.
Tip: For best results, use the fertilizer soon after collection. If you need to store it, keep it off the floor and away from drains or wells.
By following these steps, you can make the most of your electric composter and create high-quality fertilizer for your plants.
Tips, Troubleshooting, and What Kitchen Waste to Compost
What You Can and Cannot Compost
You can add many types of food waste to electric composters, but some items work better than others. Soft foods like bread, rice, and pasta break down quickly and help balance the carbon and nitrogen in your composter. Moldy bread and foods high in sugar or starch also work well. Sawdust or shredded paper can improve the composting process. Avoid adding large bones, fish guts, or pet waste. These items slow down decomposition and may cause odors or attract pests.
Tip: Chop tough or large pieces into smaller chunks to help your composter work faster.
Tips for Best Results with Electric Composters
To get nutrient-rich compost and support sustainability, follow these tips:
- Keep a good mix of green (nitrogen-rich) and brown (carbon-rich) materials. Use kitchen scraps for greens and dried leaves or paper for browns.
- Add a microbial starter pack once a month if your composter recommends it.
- Maintain moisture like a damp sponge. If the compost looks too dry, add more greens. If it is too wet, add more browns.
- Clean the composter bucket and replace the carbon filter regularly.
- Mix or shred food waste before adding it to speed up composting food waste.
A balanced composter reduces odors and creates better fertilizer for your plants.
Common Issues and Simple Solutions
You may face some common problems when using electric composters:
- Bad smells often mean too much moisture or not enough air. Turn the compost and add dry materials like shredded paper.
- Slow decomposition can happen if you add only one type of waste or forget to mix greens and browns.
- If the machine stops working, check the power cord and clean the bucket.
- If you see clumps or wet spots, add more dry materials and mix well.
Note: Electric composters help reduce methane emissions from landfills, which is one of the key benefits for the environment.
Electric composters offer many benefits for your home and the environment. You can quickly turn food scraps into organic fertilizer, which supports plant health and soil quality. For best results, follow this quick checklist:
- Check moisture and temperature after each cycle
- Let compost cool before use
- Store fertilizer in a dry place
FAQ
How does an electric composter help with sustainability?
You reduce landfill waste and create organic fertilizer at home. This supports sustainability and helps your garden grow strong and healthy.
Can you compost all types of kitchen scraps?
You can compost most kitchen scraps, like fruit peels and coffee grounds. Avoid adding large bones or oily foods for best results.
What are the main benefits of composting food waste with automatic operation?
You save time with automatic operation. You get nutrient-rich compost quickly. Fast decomposition means you can use the fertilizer in your garden sooner.