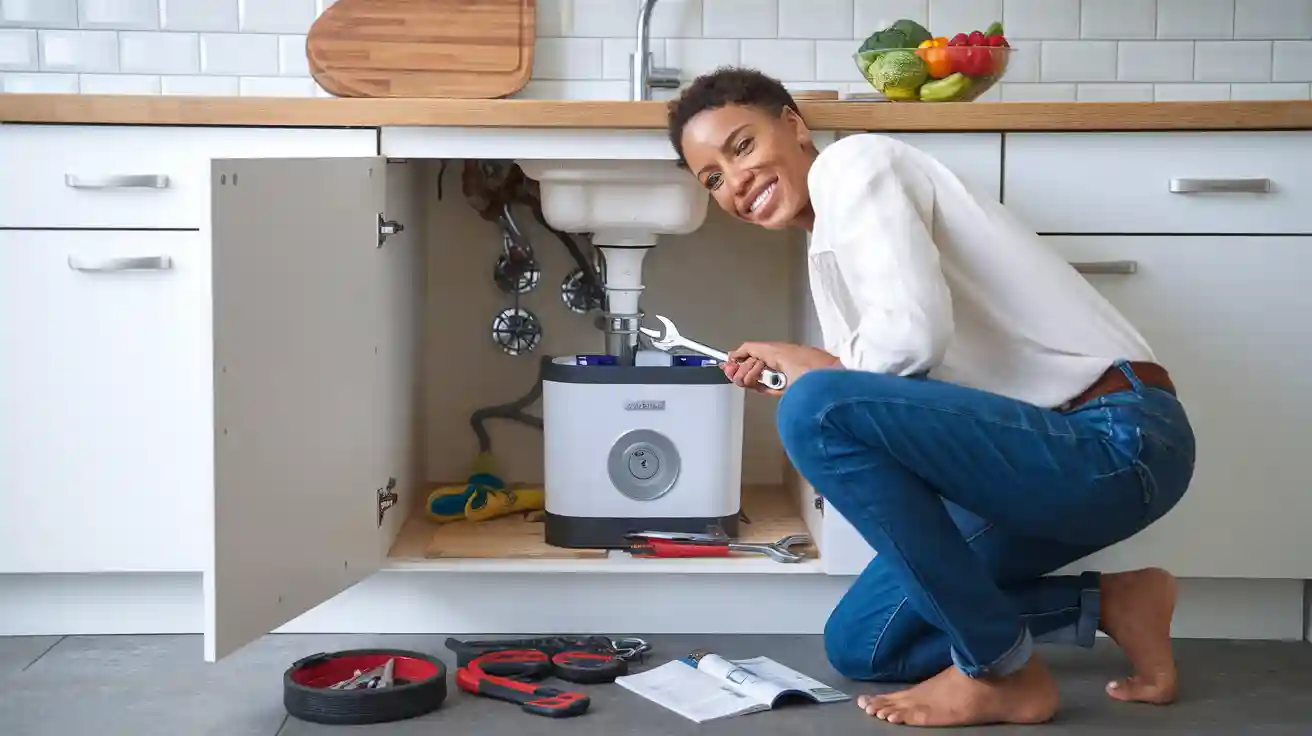
You can handle food disposal installation yourself if you feel comfortable with basic tools. Many people save between $100 and $400 by skipping professional help when adding a new garbage disposal. Mistakes might cause extra costs, so take your time and follow each step carefully for the best results.
Can You Install a Garbage Disposal Yourself?
Skill Level and Safety
You don’t need to be a master plumber to install a garbage disposal. If you feel comfortable using basic tools and following step-by-step instructions, you can handle food disposal installation. Many homeowners finish the job with confidence. Safety matters most. Before you start, turn off the power supply to the unit. You can unplug it or switch off the circuit breaker. Always wear gloves and safety glasses when you work under the sink. Shut off the water supply to avoid leaks or flooding. Garbage disposal installation involves both electrical wiring and plumbing. If you ever feel unsure, you can call a professional for help.
Tip: Take your time and double-check each step. Rushing can lead to mistakes or safety hazards.
Here are some common challenges people face when they install a garbage disposal:
- Forgetting to unplug the unit before starting work
- Using the wrong tools for food disposal installation
- Disposing of items like grease, fibrous foods, or hard objects
- Ignoring strange noises from the new garbage disposal
- Running hot water, which can cause grease to clog pipes
- Skipping regular maintenance
You might also run into issues like misaligned sink flanges, improper electrical connections, or drain line height problems. These can cause leaks, drainage trouble, or even water backup into your dishwasher.
Time Commitment for Food Disposal Installation
You can usually install a garbage disposal in about two to four hours. If you’re replacing an old unit, the process might go faster. First-timers may need extra time to review instructions and gather tools. Plan for a relaxed pace. Don’t rush. You want to make sure every connection is tight and every step is complete. If you run into problems, take a break and check the manufacturer’s guide. With patience, you’ll have your new garbage disposal working smoothly.
Tools and Materials for Garbage Disposal Installation
Getting ready for garbage disposal installation means you need the right tools and materials. If you gather everything before you start, you will save time and avoid frustration. Let’s break down what you need and what can make the job even easier.
Essential Tools Checklist
You do not need fancy equipment to install a new garbage disposal. Most of these tools might already be in your toolbox. Here’s a handy checklist:
- PVC saw
- Flat head screwdriver
- Philips screwdriver
- Adjustable pliers
- Circuit tester
- Wide rubber band
- Plumber’s putty
- Wire nuts
- Electrical tape
- Electrical caps
- 20 Amp 120 Voltage under-sink outlet
Tip: Always use a circuit tester before you touch any wires. This keeps you safe from electric shock.
If you have these tools ready, you can move through each step with confidence.
Required Materials for Install Garbage Disposal
You will also need some basic materials to complete the job. These items help you connect the plumbing and seal everything tight. Here’s what you should have:
- Garbage disposal unit
- PVC piping (Schedule 40 PVC)
- Various fittings
- Plumber’s putty
- Cleaner
- Glue
You might find that your new garbage disposal comes with some of these materials. Double-check the box before you buy extras.
Optional Items for Easier Installation
Some items are not required, but they can make garbage disposal installation smoother and safer. Consider these helpful add-ons:
- Complete installation kit (removable power cord, dishwasher connection kit, elbow adapter, sink stopper, splash guard, stainless steel rim mounting flange)
- Optional wall or air switch controls for safer and easier operation
- Routine checkup and maintenance tips for long-term performance
- System tests and walkthroughs to check for leaks and show you how to use the disposal
- Post-installation service for extra peace of mind
Note: A wall or air switch lets you turn your disposal on and off without reaching under the sink. This makes using your disposal safer, especially if you have kids.
Having the right tools and materials makes the whole process less stressful. You will feel more confident and finish the job faster.
Preparing for Food Disposal Installation
Turn Off Power and Water
Safety comes first when you get ready to install a garbage disposal. You want to avoid any risk of electric shock or water damage. Here’s a simple checklist to follow:
- Turn off the power at the circuit breaker.
- Unplug the disposal unit if it’s already installed.
- Shut off the water supply using the valve under your sink.
- Put on safety gear like goggles and rubber gloves.
- Keep a dust mask handy if you’re sensitive to grime.
You can also place a bucket or towel under the pipes. This catches any leftover water and keeps your workspace dry.
Clear the Area Under the Sink
You need space to work. Start by removing everything stored under your sink. Cleaning out this area gives you room to move and helps you see all the pipes and wires. Gather your tools and keep them close. You don’t want to search for a screwdriver or pliers in the middle of food disposal installation. Make sure the power is disconnected before you touch anything.
Tip: Lay down a towel to protect your knees and catch any drips.
Review Manufacturer Instructions
Every disposal model is a little different. Before you install a garbage disposal, read the manual that comes with your unit. The instructions show you how to connect wires, attach plumbing, and secure the mounting ring. Follow each step closely. If you feel unsure about wiring, you can ask a professional for help. Careful reading saves time and prevents mistakes.
Removing the Old Unit Before You Install a Garbage Disposal
Disconnect Power and Plumbing
Start by making sure you stay safe. Always turn off the power at the main circuit breaker before you touch anything under the sink. If your old disposal plugs into an outlet, unplug it. Place a bucket under the P-trap to catch any leftover water. Use pliers or a wrench to loosen the drainpipe fittings. Unscrew the bolts on the P-trap and carefully remove it. This step keeps your workspace dry and helps you avoid a mess.
Tip: Double-check that the power is off by using a circuit tester. Safety comes first!
Detach and Remove the Old Disposal
Now you can remove the old disposal. Hold the unit with one hand to support its weight. With your other hand, twist the mounting ring counterclockwise. Sometimes, the ring feels stuck. If that happens, a little penetrating oil can help loosen it. Once the unit drops free, set it aside. Next, unscrew the electrical faceplate on the bottom of the disposal. Carefully disconnect the colored wires using pliers. Remove the rubber snap ring from the mounting ring if your model has one.
Clean the Mounting Area
After you take out the old disposal, check the sink flange and mounting assembly. Wipe away any old plumber’s putty or grime with a clean cloth. Make sure the area is smooth and dry. This step helps your new garbage disposal fit snugly and prevents leaks later. If you see any rust or buildup, use a gentle cleaner to scrub it away.
Keeping the area clean now saves you trouble during installation and helps your new unit last longer.
Garbage Disposal Installation: Mounting Assembly and Flange
Apply Plumber’s Putty and Attach Sink Flange
You want a watertight seal when you install your garbage disposal. Plumber’s putty helps you get there. Start by scraping off any old putty from the sink opening. Old putty gets brittle and can cause leaks. Roll a generous amount of fresh putty into a rope shape. Press it around the underside of the sink flange. You don’t need to wait for the putty to dry. The oily texture keeps water out and forms a seal right away.
- Apply enough putty to cover the entire flange.
- Place the flange into the sink opening and press down firmly.
- Tighten the flange bolts immediately. This squeezes out extra putty and locks the seal in place.
- Wipe away any putty that oozes out.
If you use a stainless steel sink, think about the gasket material. A thicker rubber gasket between the flange and sink can help prevent leaks and cushion against vibration. This small step can make your installation last longer.
Tip: Always check for leftover putty after tightening. Clean it up before you move on.
Secure the Mounting Ring and Snap Ring
Now you need to secure the mounting assembly. This part holds the disposal in place and keeps it stable. Slide the mounting ring over the flange and line it up with the sink opening. Snap the ring into the groove. Make sure everything sits flat and tight.
Here are some common mistakes people make during this step:
- Using the wrong mounting ring, which causes leaks and instability.
- Poor alignment, leading to water leaks around the sink.
- Not supporting the disposal unit, risking damage.
- Forgetting to disconnect power before starting.
Double-check your work before you mount the garbage disposal. Tighten all bolts and make sure the assembly feels solid. Test for leaks by running a little water into the sink. If you see drips, adjust the ring and flange until the seal holds.
Note: Secure pipe connections and check compatibility between your sink and disposal. These steps help you avoid drainage problems later.
Connecting Plumbing and Electrical for Food Disposal Installation
Wiring the Disposal Unit
You need to wire your garbage disposal unit safely. Start by turning off the power at the circuit breaker. Use a voltage tester to double-check that the power is off. Strip about half an inch of insulation from the black, white, and green wires. For most homes, you connect black to black (hot), white to white (neutral), and green or bare to the ground screw. Secure each connection with wire nuts. Tuck the wires into the disposal’s electrical box and close the cover plate. Plug the unit into a GFCI outlet under the sink. This outlet protects you from shocks in wet areas. If you want extra safety, use a surge protector to guard against voltage spikes.
Tip: Always keep the outlet within easy reach for quick resets.
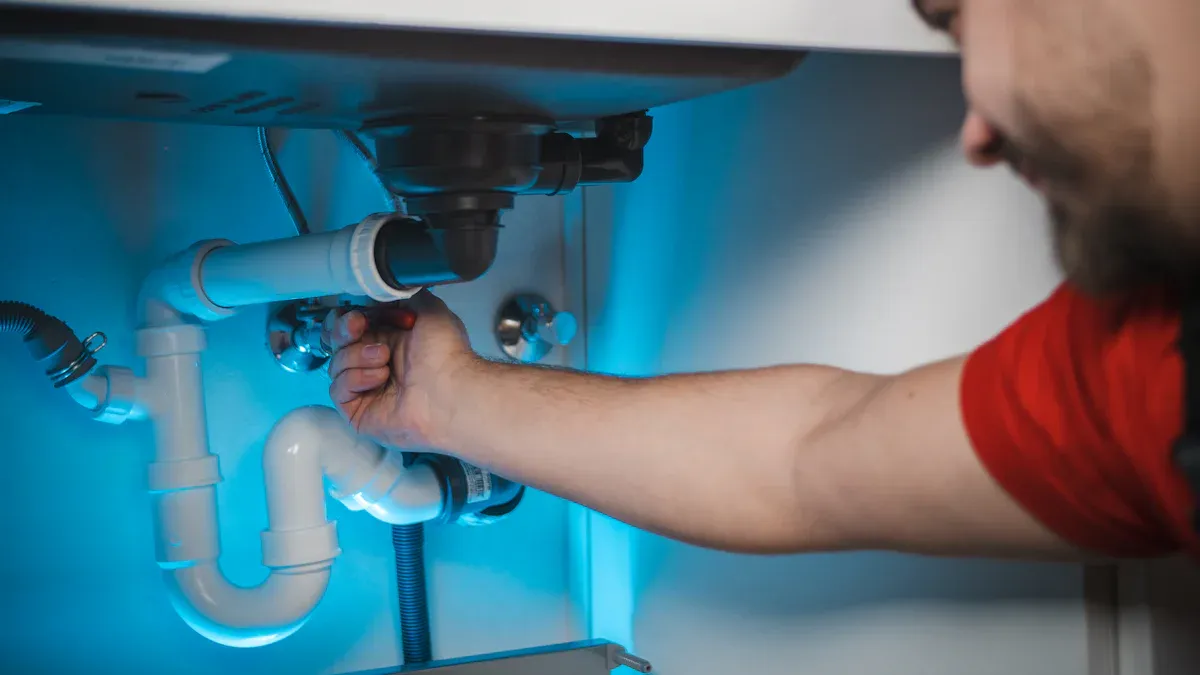
Connecting the Discharge Tube and P-Trap
Now it’s time to plumb and wire the sink area. Attach the discharge tube to the disposal’s outlet. Make sure the discharge tube sits higher than the drain pipe. This helps water flow out by gravity and keeps your drain clear. Use a flexible waste connector if you need to adjust the slope. Never install the P-trap lower than the drain pipe. That setup can cause slow drainage and standing water. Tighten all connections and install the drain fitting to prevent leaks.
Attaching the Dishwasher Inlet
If your dishwasher connects to the disposal, you need to connect the drain lines. First, knock out the plug inside the dishwasher inlet port on the disposal. Use a screwdriver and hammer for this step. Slide the rubber end of the dishwasher hose over the inlet. Secure it with a screw-down hose clamp. Make a high loop in the hose above the sink to stop dirty water from flowing back. Double-check for leaks before you finish your food disposal installation.
How to Install Garbage Disposal Unit Under the Sink
Align and Lock the Disposal in Place
You’re almost done with your food disposal installation. Now, you need to get the garbage disposal unit into position under the sink. This step can feel tricky, but you can handle it if you go slow and pay attention.
Here’s how you can align and lock the disposal in place:
- Lift the new garbage disposal up to the mounting ring. Hold it steady with both hands.
- Line up the disposal’s mounting tabs with the grooves on the mounting ring. If you can’t see well, use a mirror or your phone’s camera to check the alignment from underneath.
- Twist the disposal firmly until you feel it lock into place. Don’t force it. If it doesn’t click or feels crooked, take it down and try again.
- If you’re connecting a dishwasher, make sure you removed the dishwasher inlet plug before you attach the hose.
- Ask a friend or family member to help hold the disposal while you twist and lock it. This makes the job easier and safer.
- Once the disposal is locked, gently shake it. It should feel solid and not move around. If it wobbles, check the mounting ring and try again.
Tip: Place a weighted object or use a zip tie to keep the drain flange from shifting while you work. This helps you get a tight seal and keeps everything lined up.
After you finish, look at the split ring that holds the mounting piece. Make sure it sits flat and snug. If you want a longer-lasting seal, you can use clear silicone under the flange instead of plumber’s putty. This helps prevent leaks over time.
Tighten All Connections Securely
You want your garbage disposal installation to last. Tight connections keep water and electricity where they belong. Loose fittings can cause leaks, water damage, or even electrical problems.
Here’s what you should do to tighten all connections securely:
- Check the mounting ring and gasket. Tighten the screws until the disposal feels firmly attached to the sink drain.
- Attach the discharge tube to the disposal outlet. Make sure it connects tightly to the drain pipe. Use the right tools so you don’t overtighten and damage the fittings.
- If you have a dishwasher, connect the inlet hose with a high-quality clamp. Stainless steel or brass clamps work best and last longer than cheap metal rings.
- Use plumber’s putty or gaskets where the instructions recommend. These create watertight seals and stop leaks before they start.
- For wiring, always keep the power off until you finish. Connect the wires using wire nuts. Make sure no wires stick out or touch metal parts.
- Double-check every plumbing and electrical connection before you turn the power back on. Run cold water and activate the disposal. Wipe all connections with a paper towel to check for moisture.
- If you spot a leak, tighten the fittings or adjust the seals. Sometimes, a gentle shake helps you find loose spots.
- If you feel unsure or run into trouble, call a professional plumber. It’s better to be safe than sorry.
Note: Leaks often happen when connections are loose or not lined up. Take your time and check each step. You’ll avoid problems and keep your kitchen dry.
When you install garbage disposal, you want everything to fit snugly. Make sure the disposal matches your plumbing before you start. If you follow these steps, your garbage disposal unit will work smoothly and stay secure for years.
Garbage Disposal Installation Tips: Testing and Troubleshooting
Restore Power and Water
You finished connecting everything under the sink. Now, you need to restore power and water to your new garbage disposal. Follow these steps to stay safe and make sure your unit works:
- Make sure the disposal is mounted tightly and the rubber gasket sits flat.
- Attach the dishwasher hose with a clamp if you have a dishwasher.
- Remove any leftover packaging or tools from the area.
- Turn on the cold water at the faucet.
- Flip the circuit breaker back on or plug in the disposal.
- Press the reset button on the disposal if needed.
- Test the switch to see if the disposal powers up.
If you hear normal sounds and see no leaks, you are ready for the next step.
Check for Leaks and Test Operation
You want to check for leaks before you use your disposal every day. Dry the outside of the unit and the sink flange. Fill the sink with a few inches of water, then pull the stopper. Watch under the sink for drips. If you spot water, tighten bolts or add plumber’s putty. Look at the dishwasher hose and drain pipes for cracks or loose clamps. Replace or tighten them if needed. Run cold water and turn on the disposal. Listen for smooth grinding and no strange noises. These steps help you confirm proper operation.
Common Installation Issues and Solutions
Sometimes, problems pop up after garbage disposal installation. Here are common issues and quick fixes:
- Jammed disposal: Use a hex wrench to free stuck food.
- Dead disposal: Check the reset button and wiring.
- Leaks: Replace worn seals or tighten connections.
- Non-draining disposal: Clear clogs and sharpen blades with ice cubes.
- Humming or noisy unit: Remove stuck objects or check for missing parts.
- Dishwasher leaks: Make sure the hose is installed correctly.
- Smoking or dead motor: Call a professional for help.
Always run cold water when using your disposal. Keep it clean with dish soap and avoid putting hard or fibrous foods down the drain. These garbage disposal installation tips help you keep your kitchen running smoothly.
Maintenance and Care After You Install a Garbage Disposal
Cleaning and Routine Checks
You want your garbage disposal to stay fresh and work well. Start by turning off and unplugging the unit before cleaning. Use a long-handled brush or an old toothbrush to scrub inside. Every two weeks, pour equal parts baking soda and vinegar into the disposal. Let it fizz, then flush with cold water. Drop in a few ice cubes and run the disposal to help clean the blades and remove stuck food. Citrus peels like lemon or orange can help get rid of bad smells. Run cold water during and after every use to wash away food bits and keep things moving. If you hear odd noises or see leaks, check for loose parts or clogs.
Tip: Never use your hands to remove stuck objects. Use pliers or tongs for safety.
What Not to Put Down the Disposal
You might wonder what can go down a garbage disposal. Most soft food scraps are fine, but some things cause trouble. Avoid putting fats, oils, and grease down the drain. These can harden and block your pipes. Starchy foods like rice, pasta, and potato peels can turn into mush and clog the system. Fibrous veggies such as celery, corn husks, and artichokes can wrap around the blades and jam the motor. Hard items like bones, fruit pits, and eggshells can break the disposal. If you ever ask, “what can’t you put down a garbage disposal?”—remember this list and keep your system safe.
Tips for Longevity
You can help your garbage disposal last for years with a few simple habits:
- Always run cold water before, during, and after using the disposal.
- Feed food scraps in small amounts instead of all at once.
- Clean the disposal with ice cubes, baking soda, and vinegar every month.
- Listen for strange sounds and check for leaks often.
- Schedule a professional inspection once a year to catch problems early.
- Use the reset button if the motor stops.
- Never use harsh chemicals or drain cleaners—they can damage your disposal.
Note: Regular use keeps your disposal from rusting and helps it run smoothly.
You can install a food disposal system yourself and feel proud of your work. Careful prep and smart tips help you avoid leaks, clogs, and safety risks.
- Run cold water, clean with natural ingredients, and check for leaks to keep your disposal running for years.
- Secure connections and regular checks prevent big problems.
Remember, a little care goes a long way! 🛠️
FAQ
How often should you clean your garbage disposal?
You should clean your disposal every two weeks. Use baking soda, vinegar, and ice cubes. This keeps it fresh and helps prevent bad smells.
Can you install a garbage disposal without help?
Yes, you can! If you follow the steps and use the right tools, you can install it yourself. Take your time and stay safe.
What do you do if your disposal stops working?
First, press the reset button on the bottom. If it still does not work, check the power and connections. Call a pro if you need more help.